In order to use Pocket Pad with your Idealpos system, you will need to configure some settings.
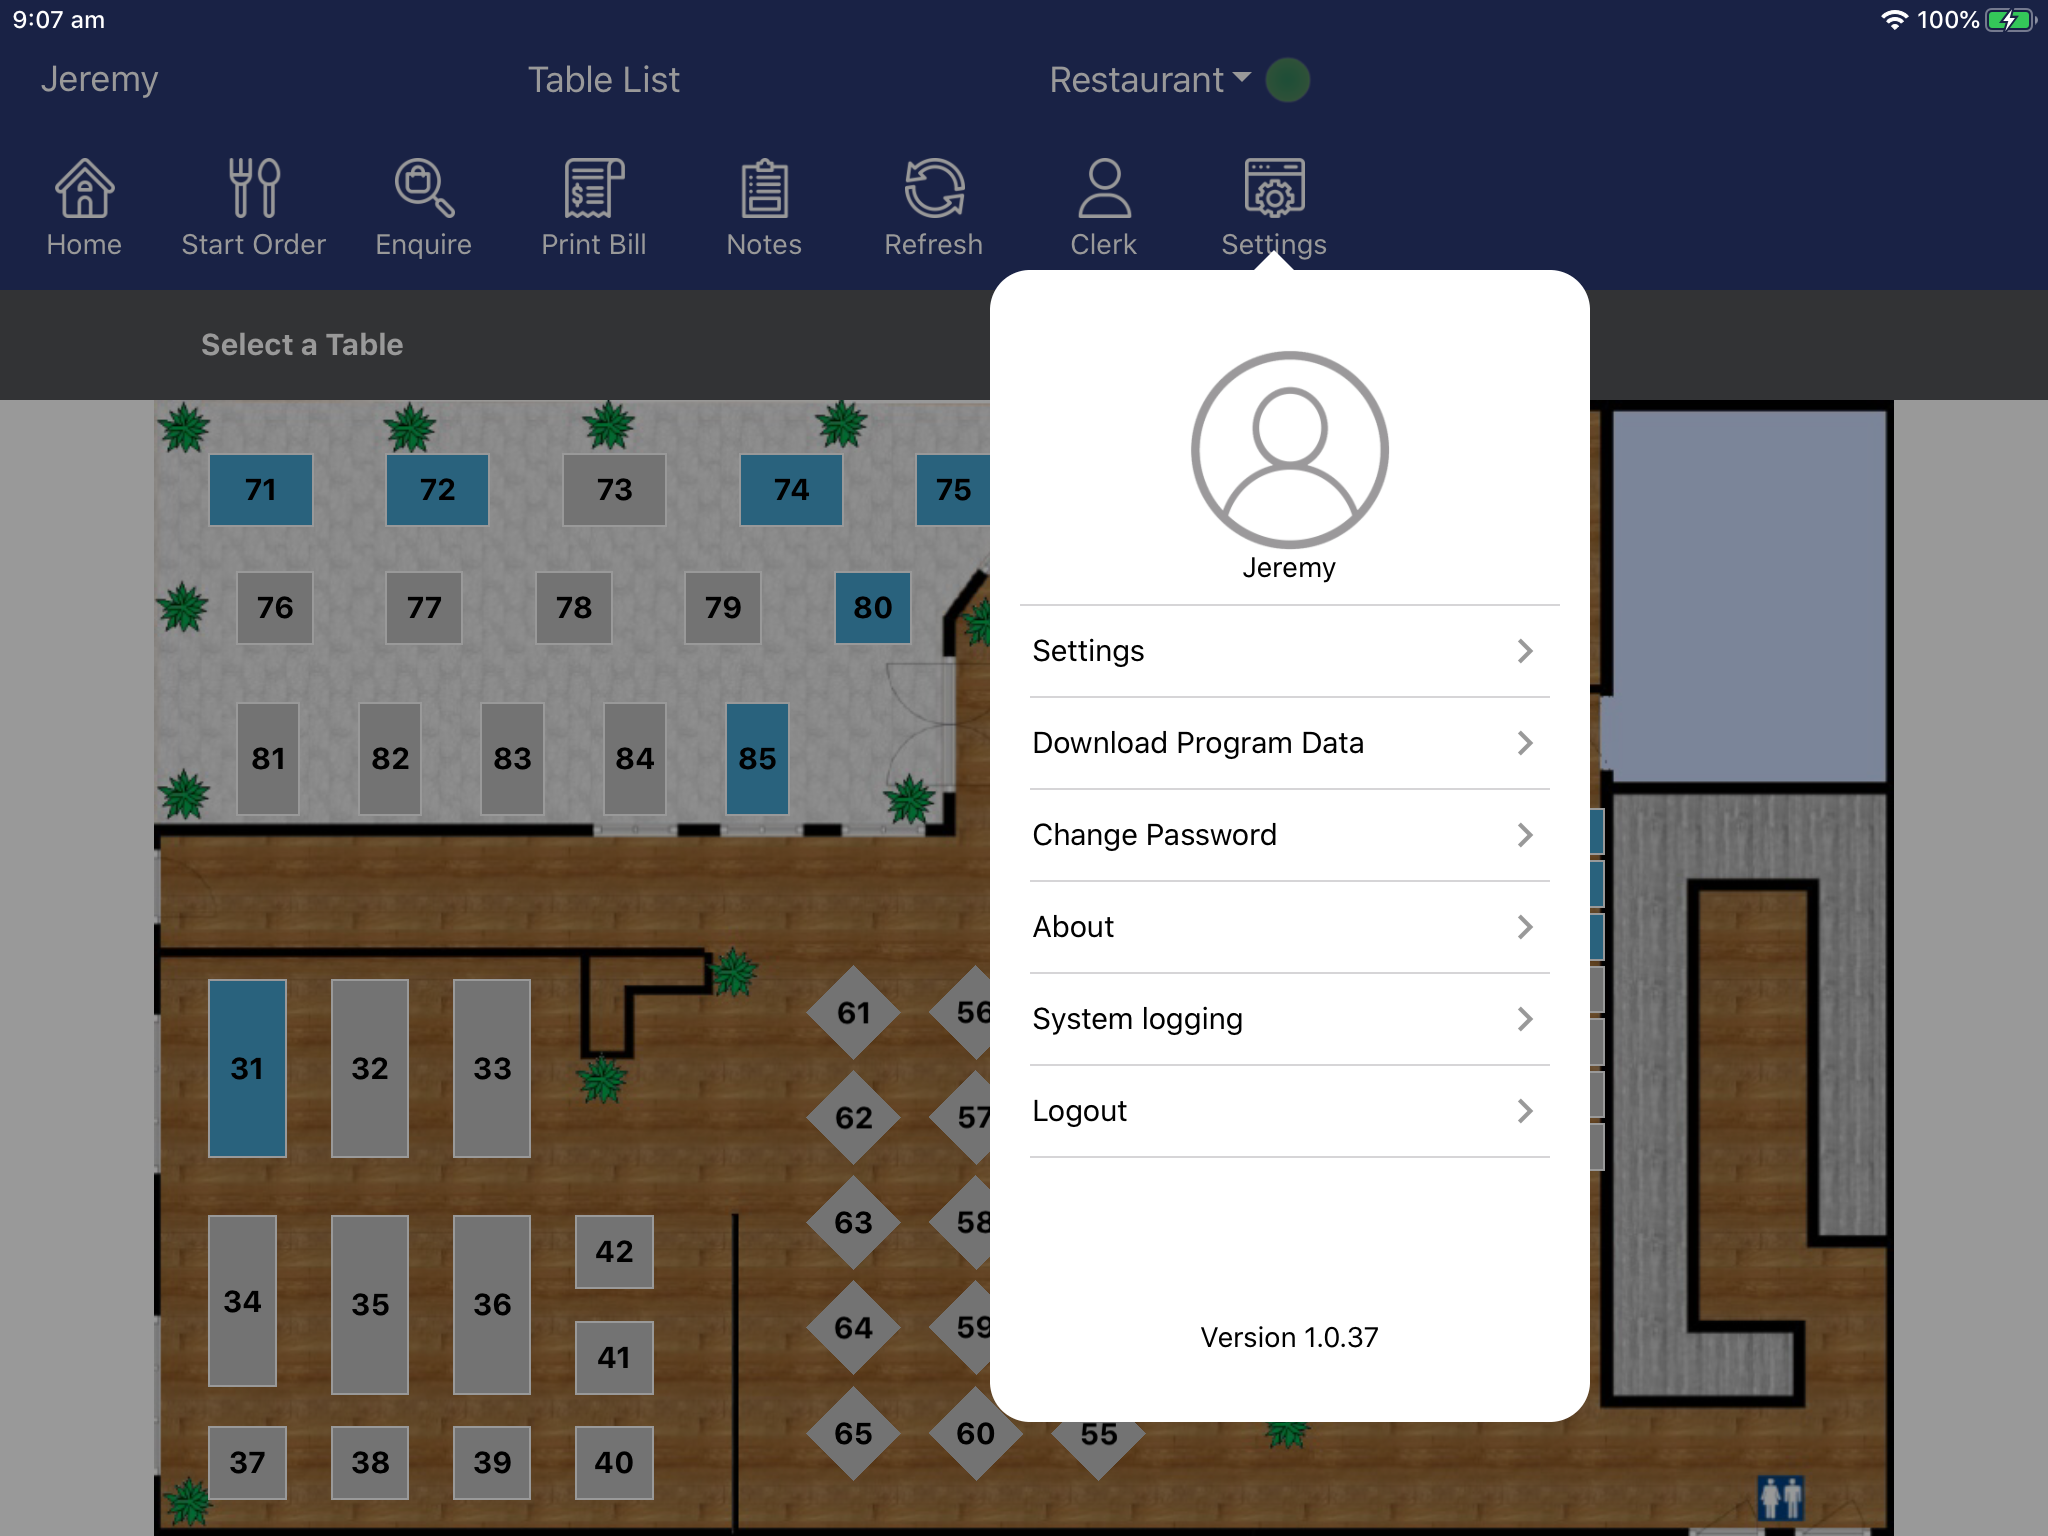
Press the "Settings" button from the menu at the top of the app screen, then choose the "Settings" option from the menu to access the Settings menu screen.
The very first time the Settings menu screen is accessed, you will be prompted to set a password and to confirm the password to ensure that no mistakes were made.
Once the password has been, it will be required each time the Settings menu screen is accessed.
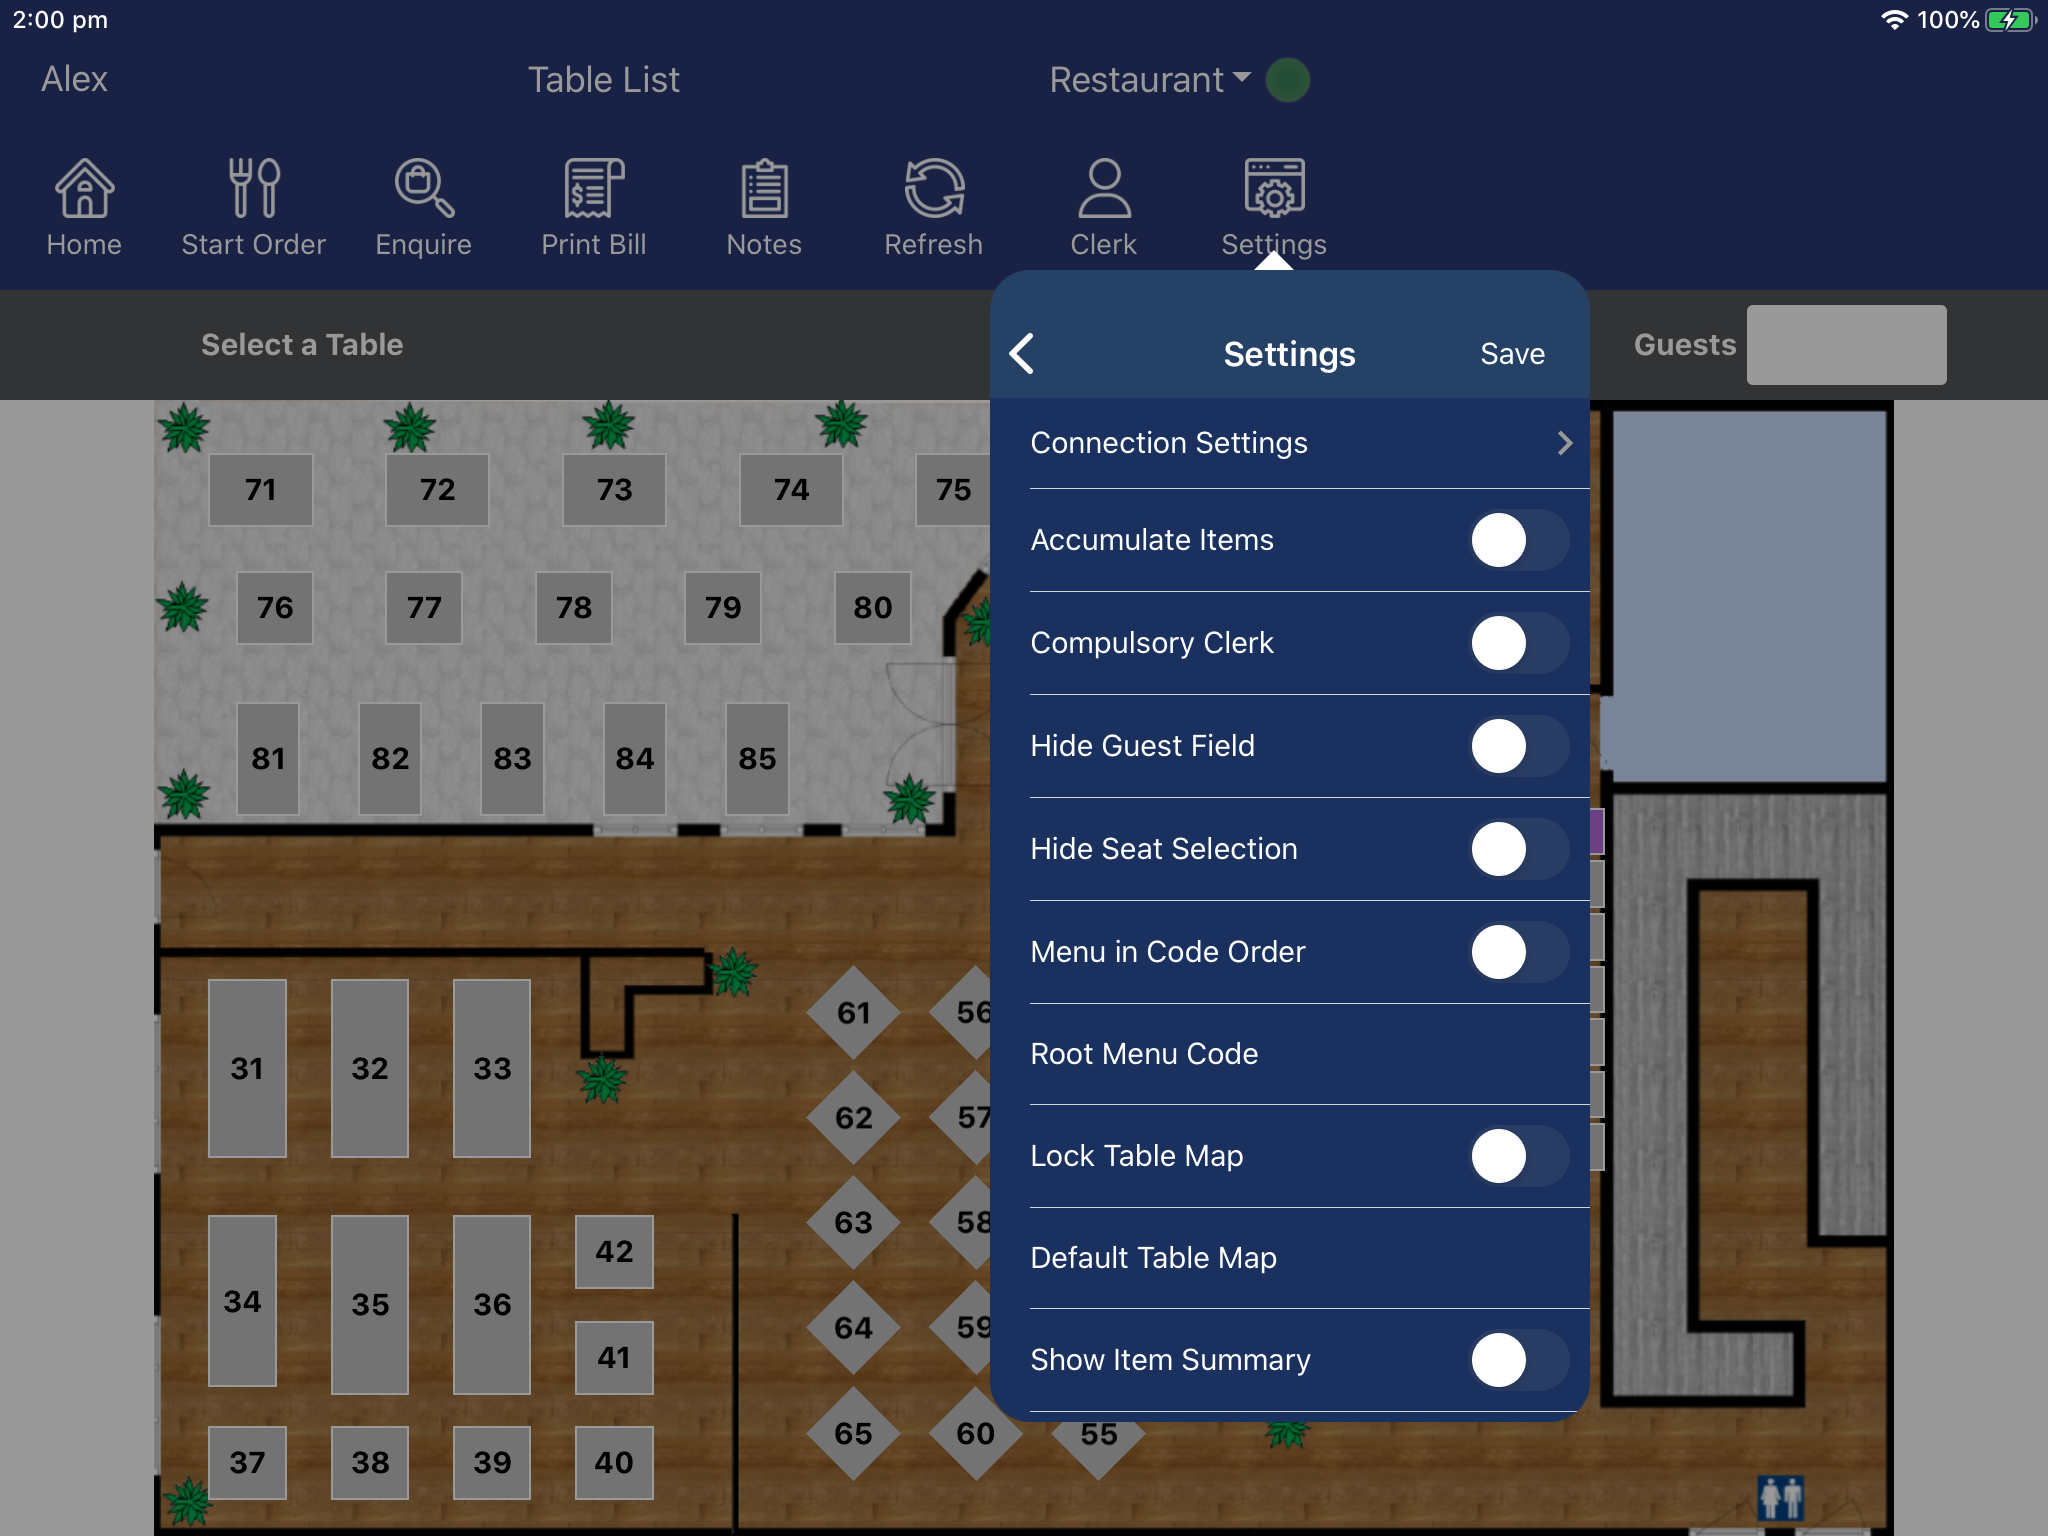
The following options are available from the Settings menu:
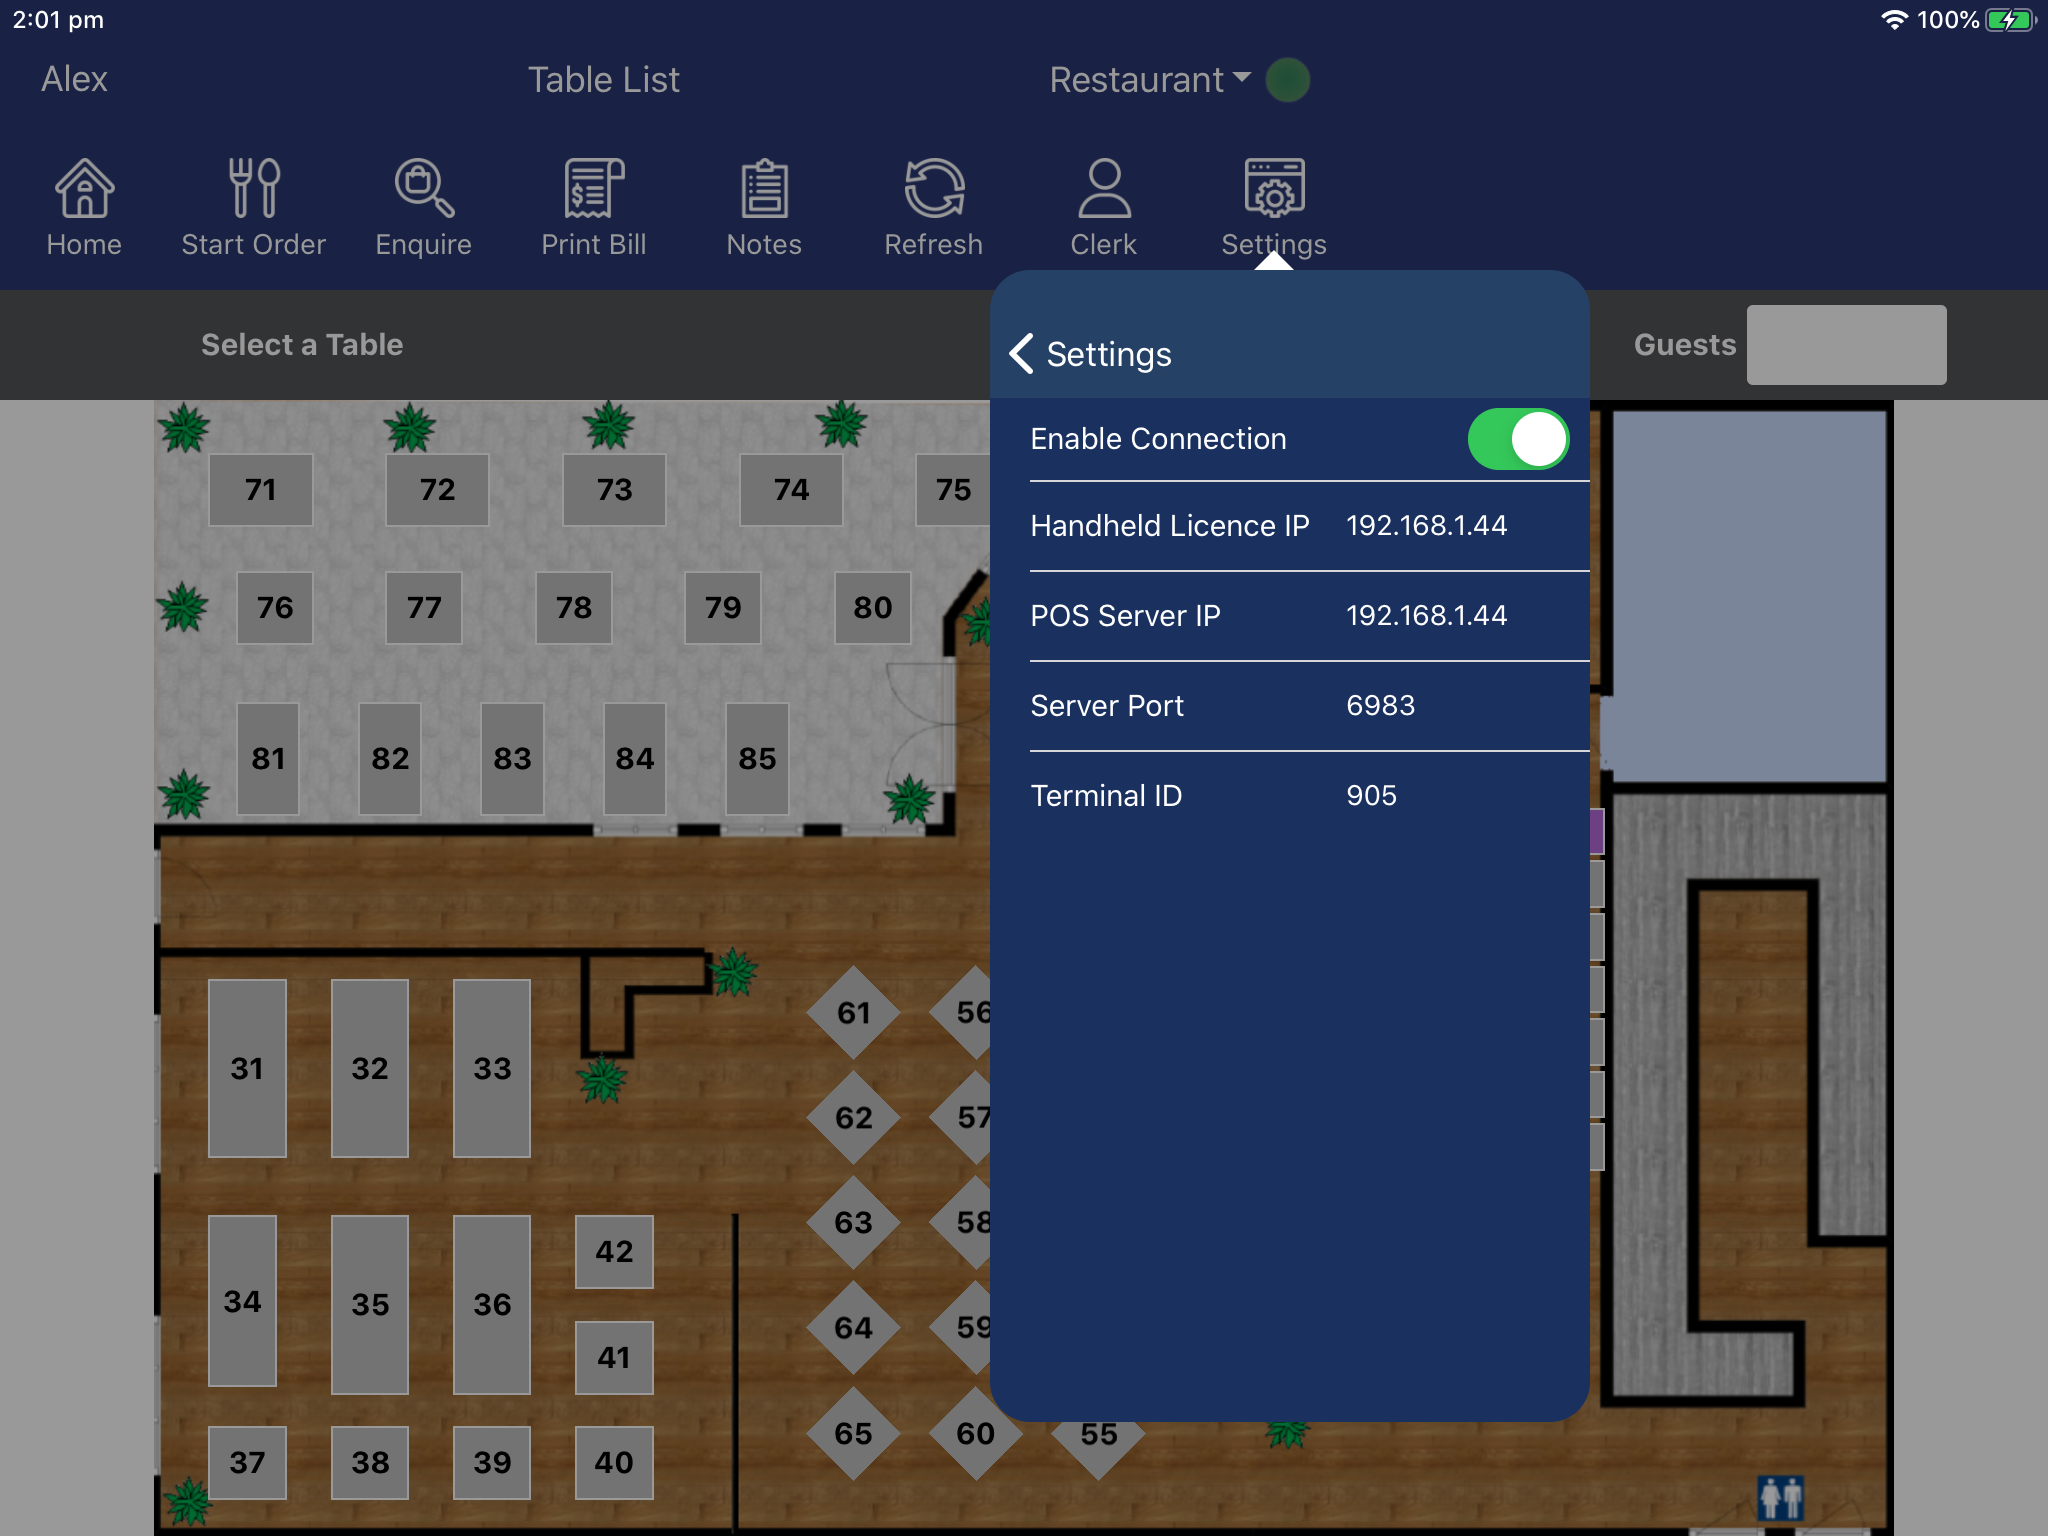
Connection Settings - Opens the Connection Settings menu from where you can configure the network settings that the Pocket Pad app will use to communicate with Idealpos.
Accumulate Items - Enable if you want items to accumulate when adding more than one of the same item to the order.
Compulsory Clerk - Enable to force a Clerk to be entered/selected before sending an order to Idealpos. This will also force a Clerk to be selected/entered after each order is sent to Idealpos.
Hide Guest Field - Enable this option to hide the Guests field used to enter the number of Guests that are seated at the table. Note that if "Prompt for Covers" is enabled in the Yes/No options, the Guests field will be hidden regardless of whether this option is enabled or disabled.
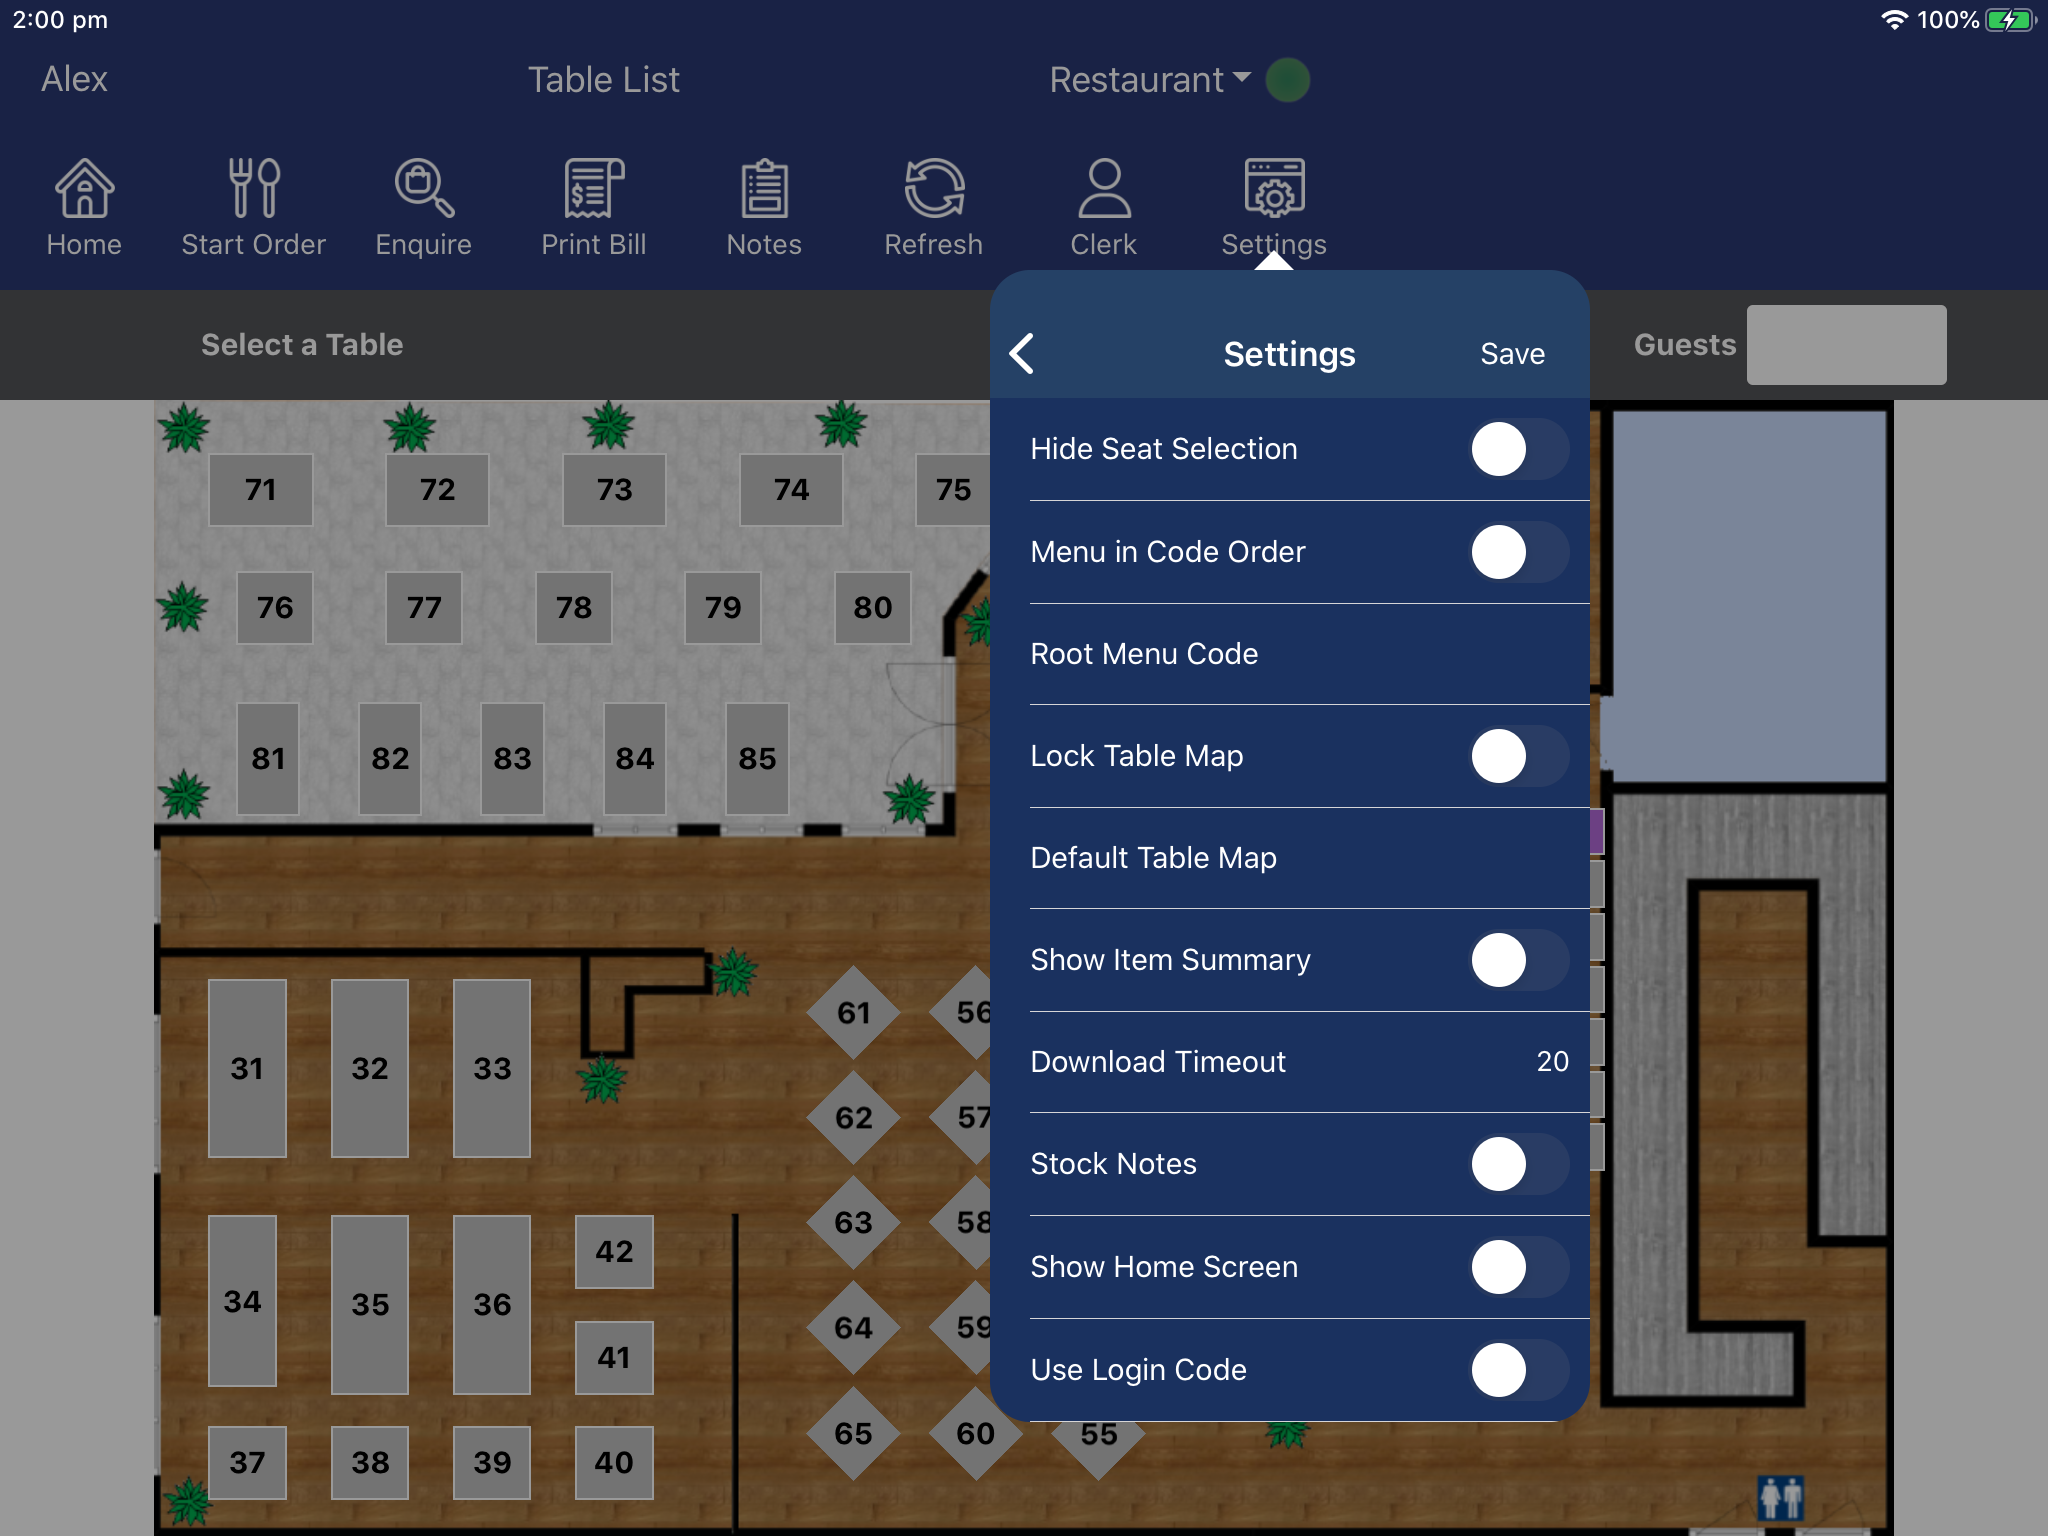
Hide Seat Selection - This option will hide the seat buttons, thereby disabling the ability to assign items to seat numbers when placing an order from Pocket Pad.
Menu in Code Order - By default, the menus will display in alphabetical order. Enabling this option will display the menus in code order.
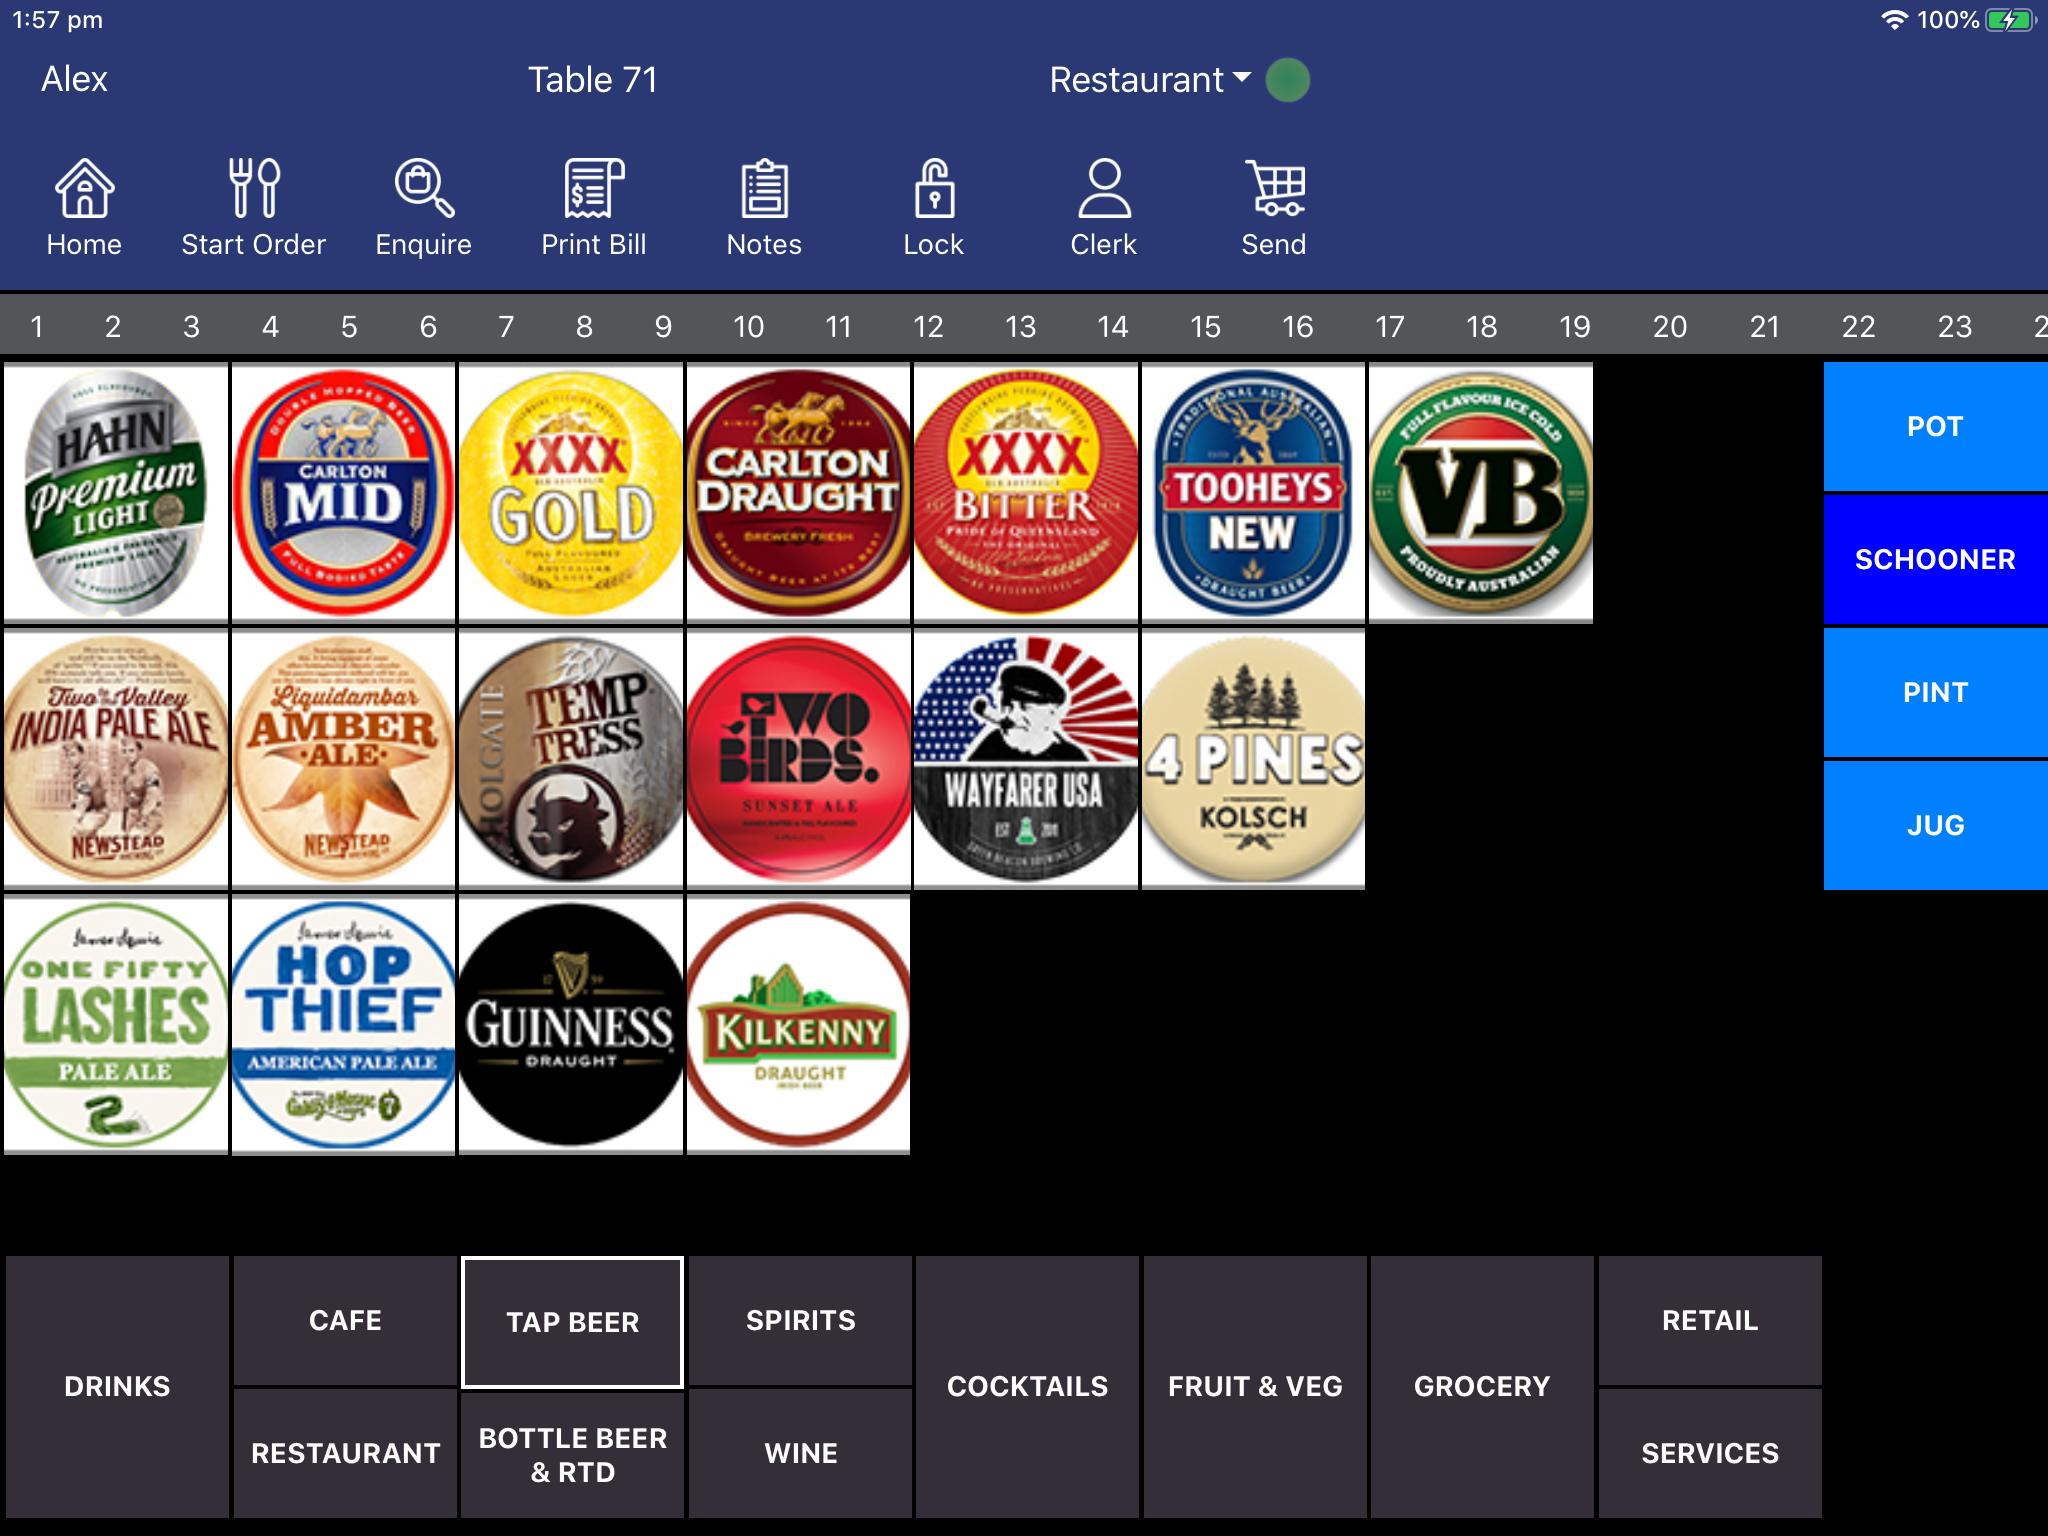
Root Menu Code - If using menus, enter the Menu Code that corresponds to the Main Menu Code that you will be linking to in Idealpos. By default, this is set to 999. If you are using V7 Features, you do not need to have anything in this field as the items will be built from the POS Screen Layout.
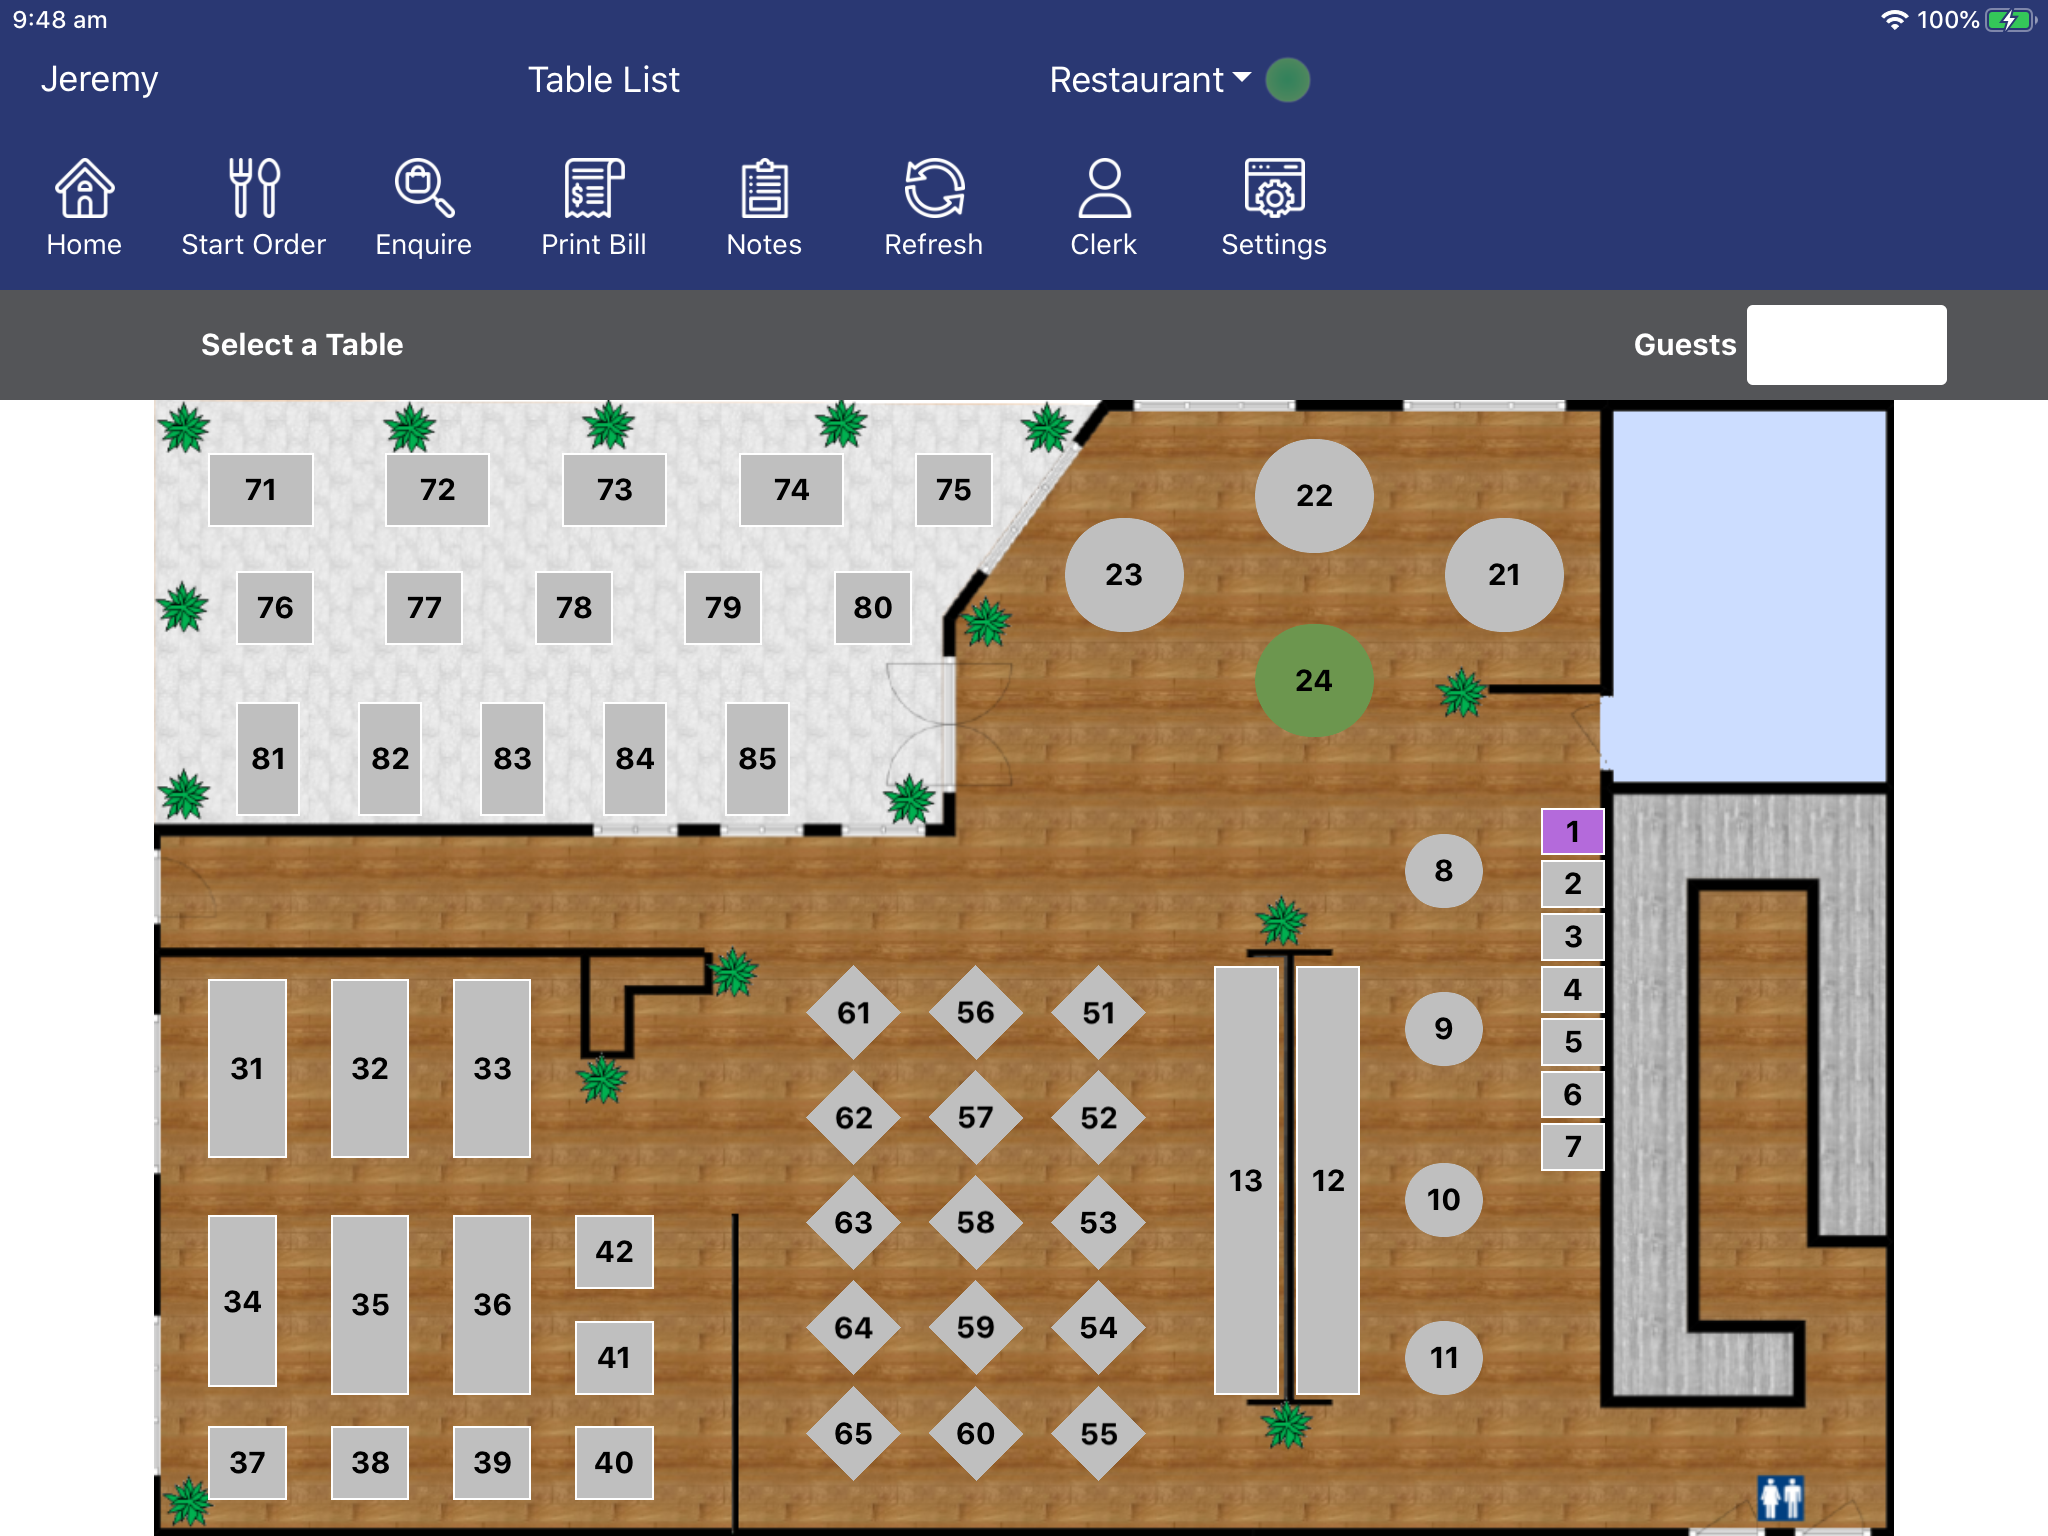
Lock Table Map - This option will lock the Table Map to the Table Map specified in the Default Table Map setting.
Default Table Map - This option is used to enter the Table Map Code that will be used as the Default Map when the Table Map is displayed.
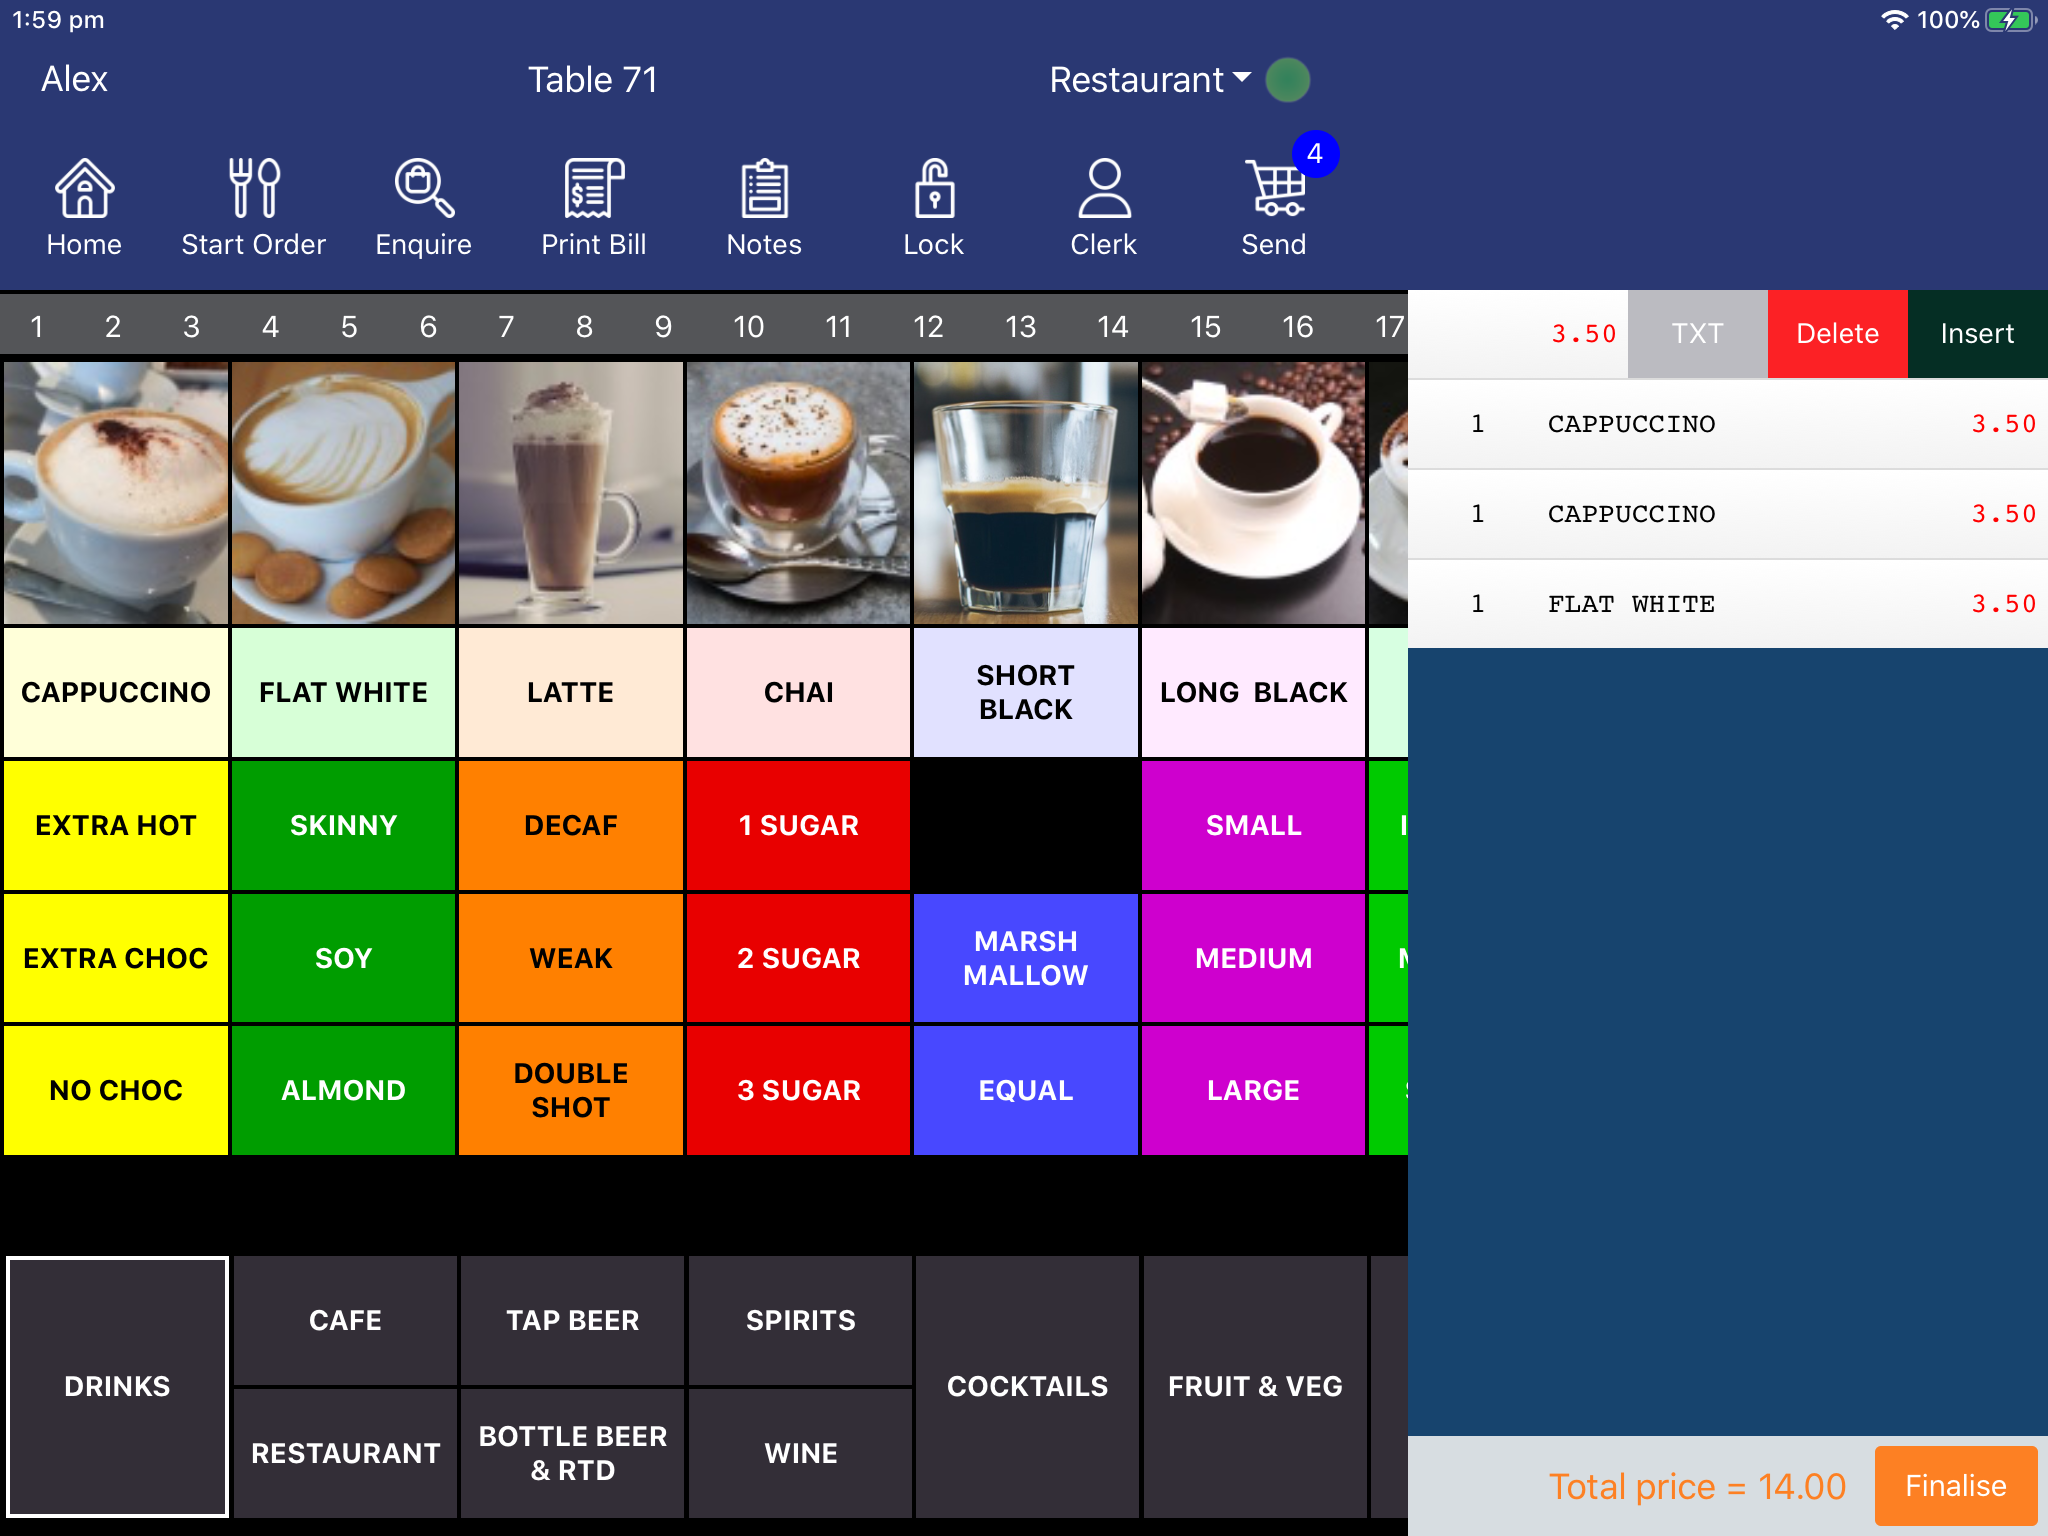
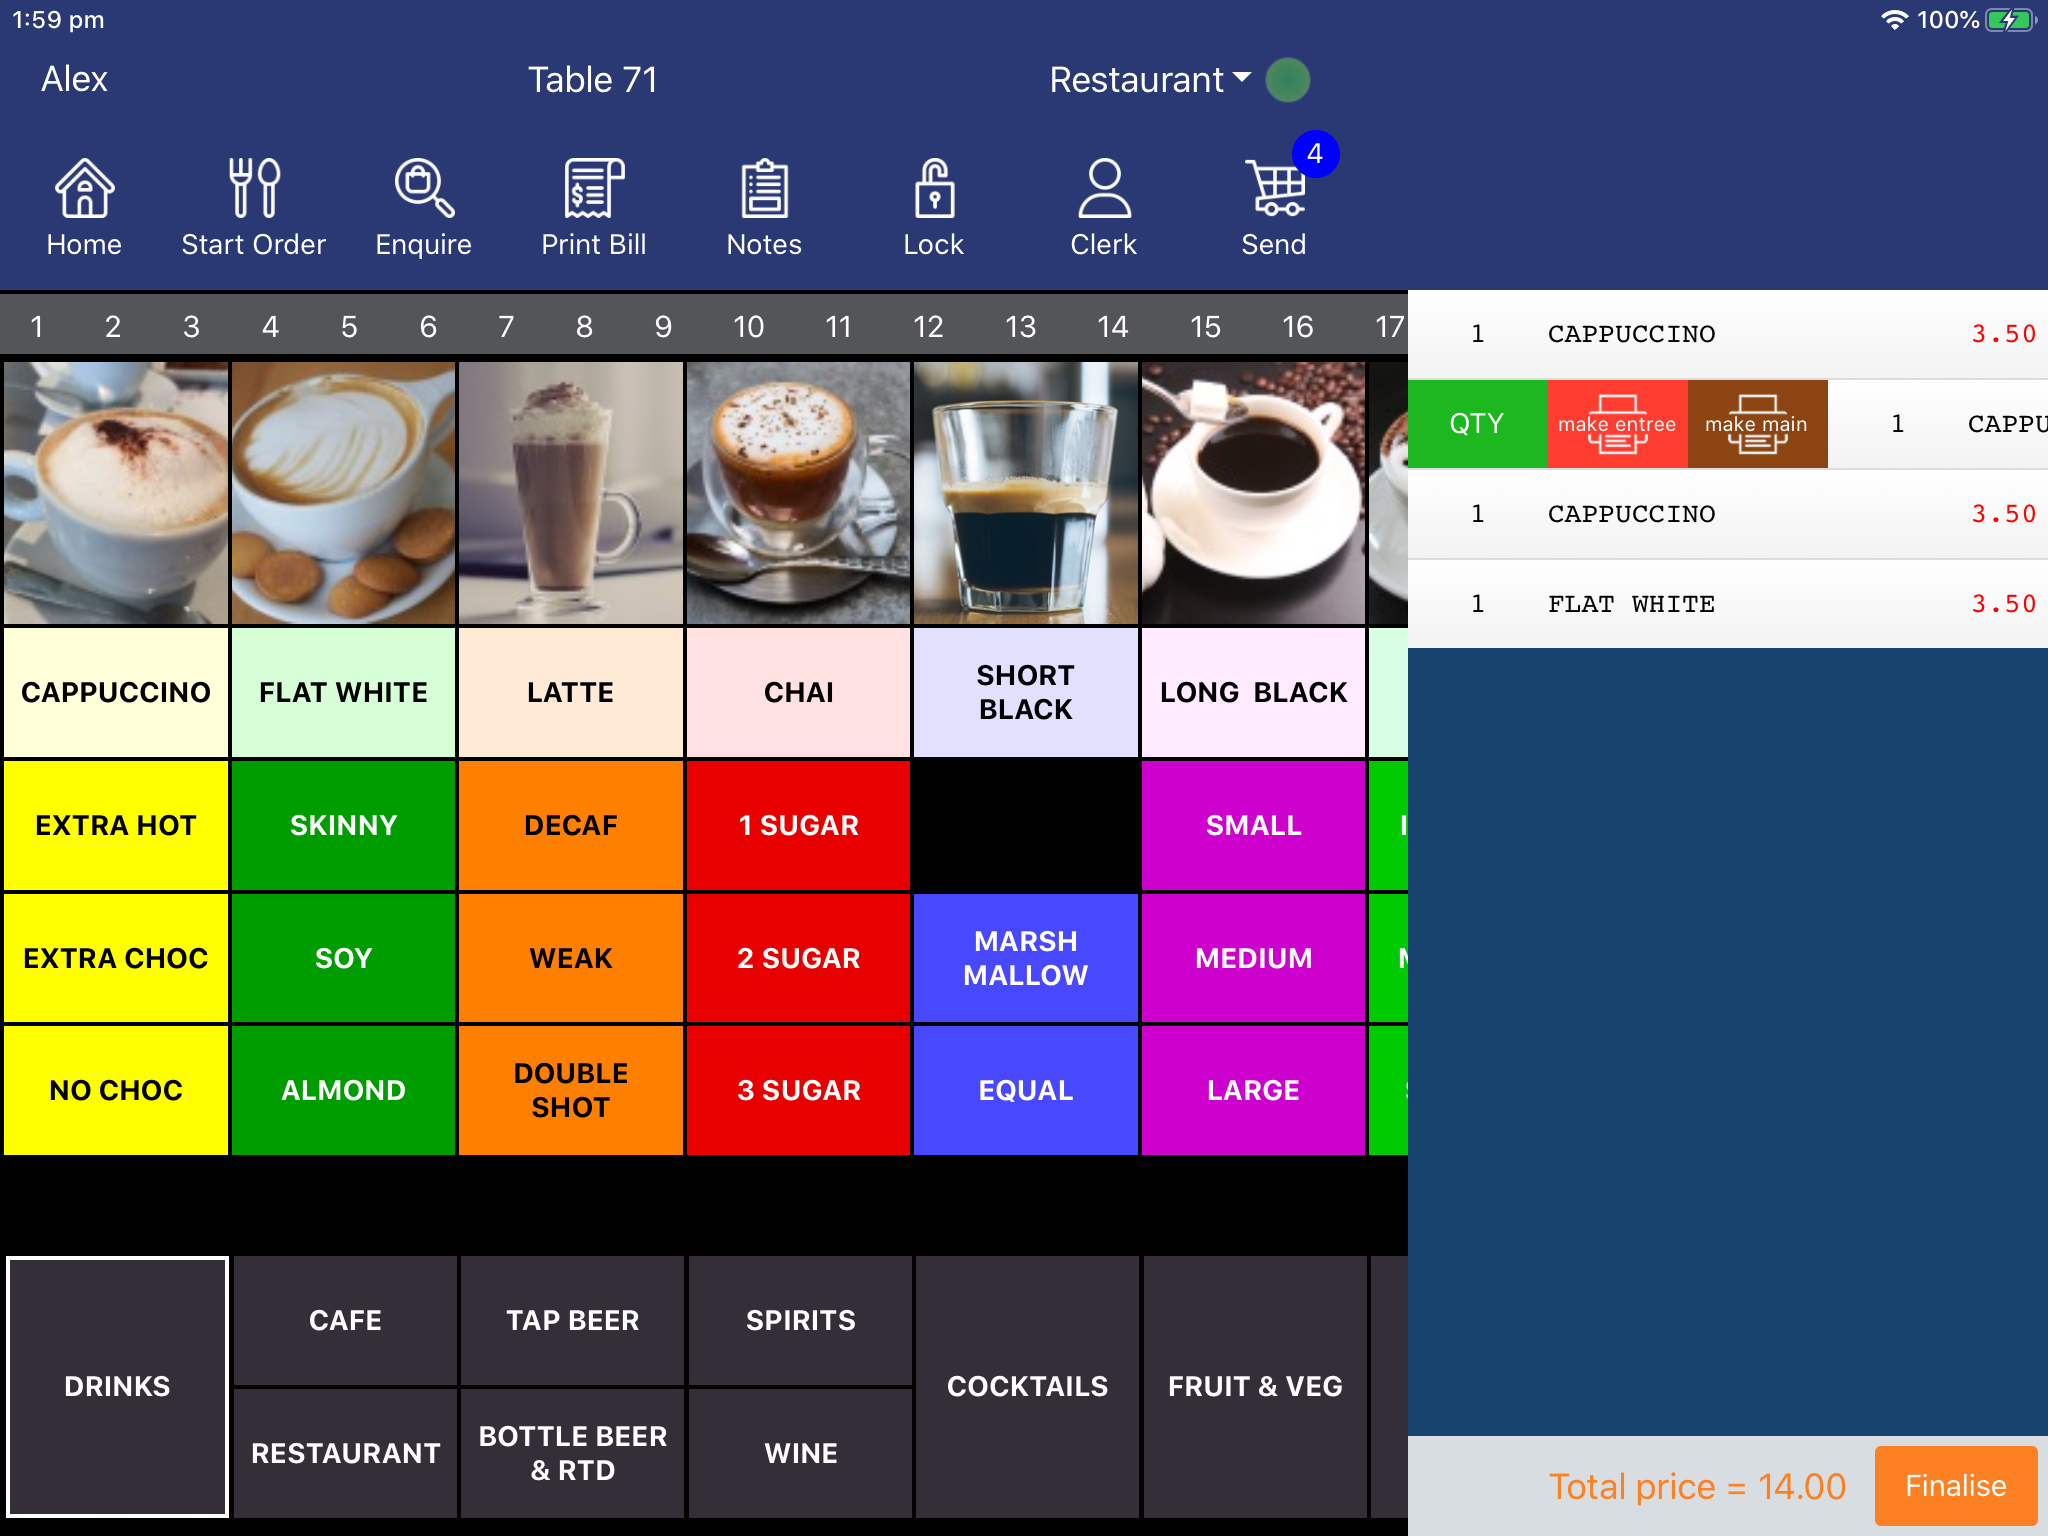
Show Item Summary - This option will show display a small summary box on the top-right corner of the app which will show the last six Stock Items added to the current table order.
Download Timeout - This option is used to specify the download timeout used when downloading program data. The default value is 20 seconds. The default value is sufficient for most systems. However, if using Pocket Pad with a lower spec host system and the database contains numerous POS Screen Layouts, a timeout of 20 seconds may lapse before the host system can generate the required data and send back to Pocket Pad. Therefore, the timeout setting can be increased to allow the slower spec system to generate the table data and send it to the app.
Stock Notes - Enable this option to use Stock Notes functionality in Pocket Pad. When this option is enabled, Stock Notes for individual Stock Items can be displayed in Pocket Pad by simply holding your finger down (long press) on a Stock Item image or button for approximately 5 seconds, then the Stock Notes for the item will be displayed. This can be used in cases where an item may contain additional details such as the Ingredients used to make an item. It may be useful if a consumer has allergies to specific ingredients and want to determine whether they can consume the item.
Show Home Screen - Enable this option to display a Home Screen used by the Clerk to enter their Clerk Code.
Use Login Code - This option only applies to the "Show Home Screen" setting. When enabled, Clerks will enter their Login Code instead of the Clerk Code.